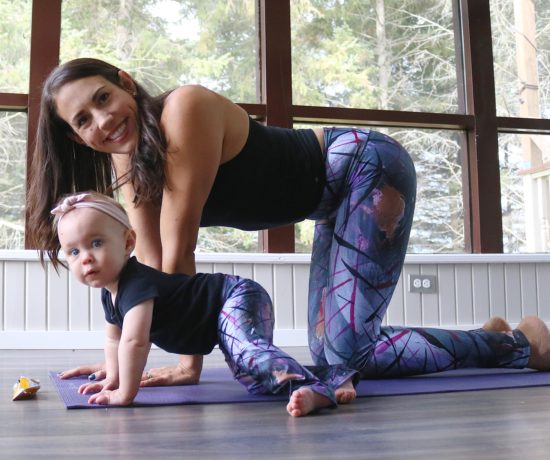
Hello and Happy New Year!
As the new year starts off, so do soooooo many new fitness/exercise/healthy habits. Which is awesome and I like to see people motivated to improve their health! All the goal setting and healthy changes are seriously contagious and they help motivate others. The thing I hate to see though is people give up on those goals because they were:
a) Too hard
b) Required too much time
c) You cheated so you might as well go all in and forget every healthy habit you ever learned
or, d) you got injured :/
Well, I could definitely write a post about each of the first 3 things mentioned here, but today I am going to focus on #4 – getting injured. We’ve all been there and it seriously sucks!! Especially when you are so motivated to exercise and your body is saying “NO, NO Please no more burpees, or jump squats or those horrible, horrible mountain climbers!!”
So today I want to give you a couple tools to help you get your body ready for more intense exercise. If you are a beginner exerciser, I strongly recommend you start by doing these exercises regularly BEFORE starting any high intensity training/exercise regime. You really can’t expect your body to tolerate a high amount of repetitive stress without a proper foundation before it starts to break down… It’s unrealistic. I’m sorry to be blunt about it but I want to save you the time, energy (and money) of having to recover from an injury.
For those of you already on a regular exercise regime, these exercises are still extremely valuable as they will improve your strength and maintain a strong foundation. This is absolutely essential if you want to prevent injuries down the road (which like I said before, is WAY easier than having to deal with them after the fact).
These exercises can be safely done every day however, you will need to compliment them with a proper stretching routine so that you don’t develop a lot of tightness. If you feel any discomfort or pain when performing any of these exercises please stop and rest for a day or 2. If the pain continues, please do not continue and consult a healthcare professional.
As a beginner I would say start off doing them 3-5 times/week. As an experienced exerciser – you can do the same or add them to the beginning of your regular workout as a warm-up. They should only take you about 10 minutes to do so it’s super easy to incorporate into your regular routine!
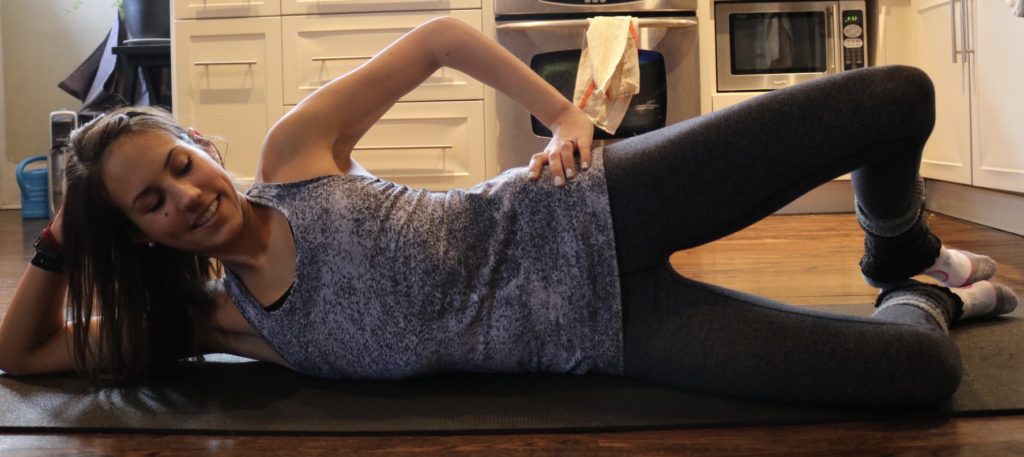
#1. The Clamshell:
This exercise is so important as it’s strengthening the muscle that is responsible for your balance, especially when you are balancing on one leg (think running – you are quickly moving from balancing on one leg to the next, over and over again). If it is weak, it tends to have a ton of negative impact on the body – including major back and knee pain! This exercise is so important if you are doing any type of lower body exercise and should be included in a regular maintenance plan.
Step 1 – Lie on your side with your knees bent and feet in line with your hips, your head and shoulders in-line with your hip bone.
Step 2 – Keeping your feet glued together, open your knee like a clam and then slowly lower back down. Repeat 20 times and then take a rest. Do 2-3 sets/side. Be sure to keep your hips in line, and avoid rotating you hips back. You want to feel this in the muscle behind your hip bone (glute medius).
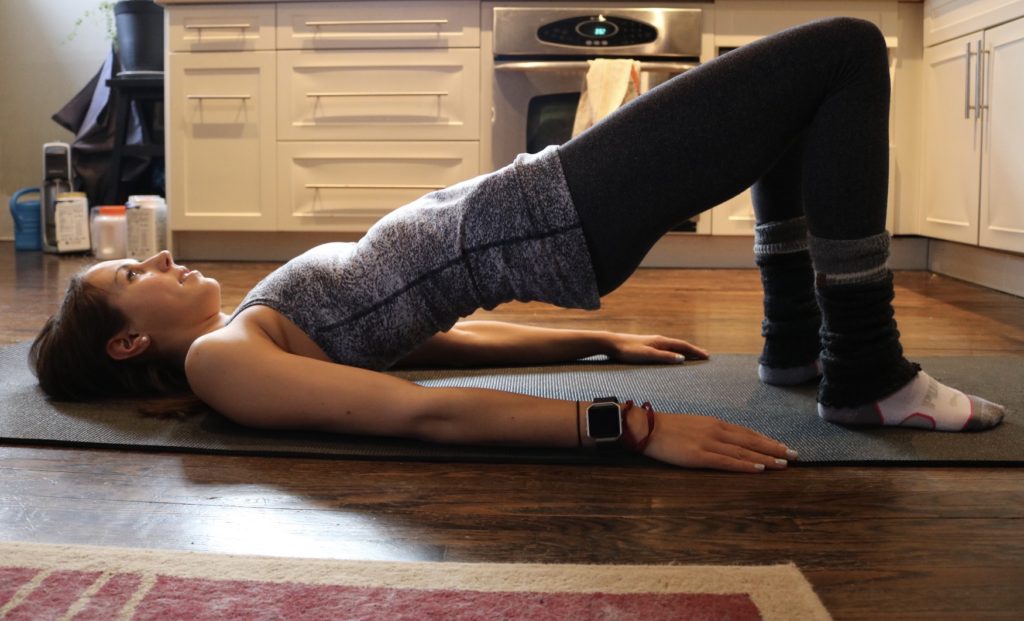
#2. The Glute Bridge:
The glute bridge is another one to keep current on your exercise routine. This exercise is fabulous as it works on sooo many areas of the body including the glutes (obviously!), the core, the hamstrings, the inner thigh adductors, spine mobility and so much more! I absolutely love this exercise. Here’s how to do it:
Step 1 – Lie on your back, knees bent, feet flat on the floor, hips distance apart and close to sitting bones, but not touching.
Step 2 – Press down into your heels, squeeze your bum and lift your hips off the floor to form a straight line from your knees to your chest. Hold for a breath and slowly lower down. Repeat 15-20x and take a rest. Do 2-3 sets. Keep knees in line with feet and avoid letting the knees fall in. Be sure to keep your glutes and core engaged with this exercise.
If you’d like some more instruction, check out my How To: The Glute Bridge class on Pilates on Demand. Or if you love bridges, check out this Bridge Party class! (All memberships come with a free 7 day trial)
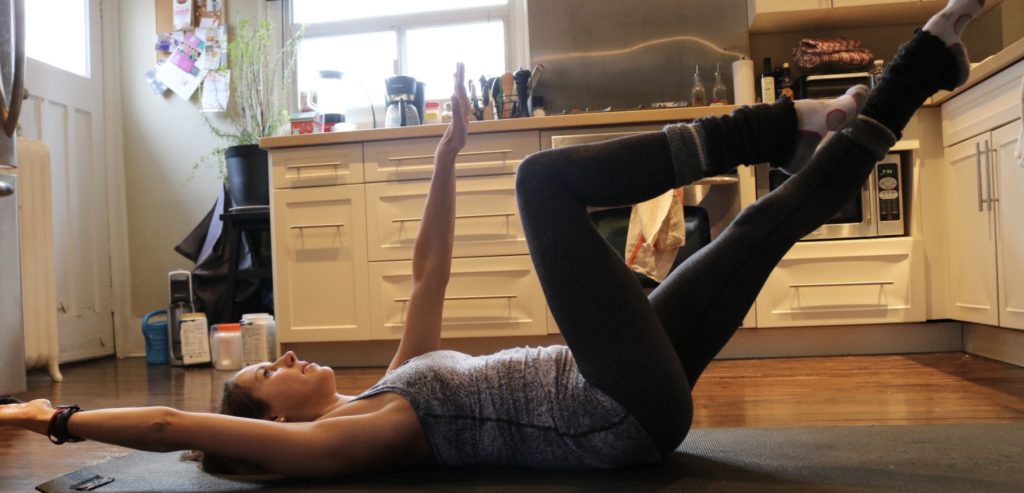
#3. The Deadbug:
The deadbug sounds funny and looks easy. However, it is definitely NOT the latter. This exercise can be extremely challenging and effective if done properly. This exercise is good for a lot of areas just like the bridge and is exactly why I like it! It focuses on core strength but also works hip flexors, quads, shoulders and coordination (which I think we can all stand to work on…well at least I can!).
Step 1 – Lie on your back and keep your core engaged. Bend your knees and bring your legs in the air with your knees right over hips. There should be little to no space between your low back and the mat. Bring both your arms up toward the ceiling keeping the back of your shoulders on the mat.
Step 2 – Reach one leg out straight on a 45 degree angle while simultaneously reaching the opposite arm straight back behind you. Come back to centre and switch sides. Repeat 20x then bring arms and legs down to rest. Do 2-3 sets.
Try adding these exercises into your regular routine or make them your new regular routine and let me know how you do! I’d love to hear what you think.
Thanks for stopping by,